Case making for Transmitter
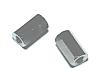
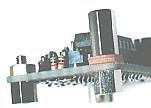
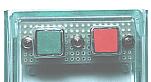
I will introduce the way of making the case which used the acrylic board on this page. I used "Bending apparatus-2" to bend the acrylic board. 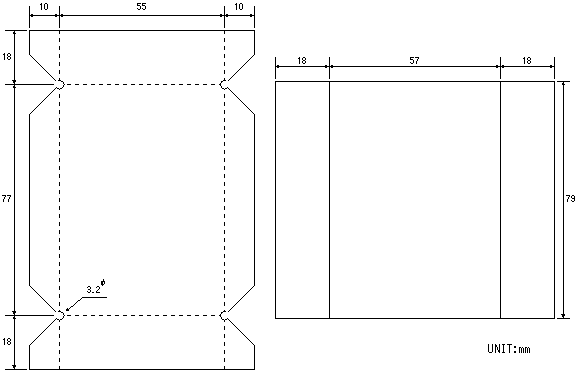 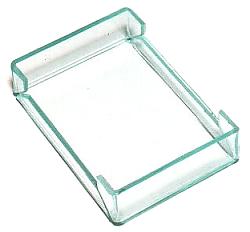 The after work is easy when bending a cover installation part first.  A glass colored acrylic board was used for cover. I made a cover after making the bottom. The cover is bent according to the size of the bottom. To make length on either side the same, I was cut after the bend of the cover was ended. 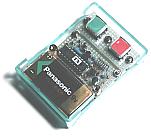 It puts a battery on the fixed position. Then, it decides the installing position of the control board. 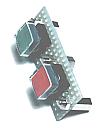 I used an universal printed board to install switches. 10-mm studs are used to make switches appropriate height. A switchboard is mounted with three screws.
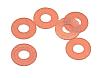
A cover is fixed on 10-mm studs which were put to two of the control board installing screws. This time, the length wasn't enough in 10-mm stud. Therefore, I used three sheets of Bakelite washer and adjusted height.
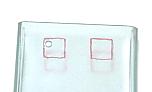
It makes holes for the switches at the cover. It puts a mark to the position which makes holes. Because it was a square hole, I made holes using thread saw and files. If approaching needed size, it shaves by files while confirming size frequently.  |